
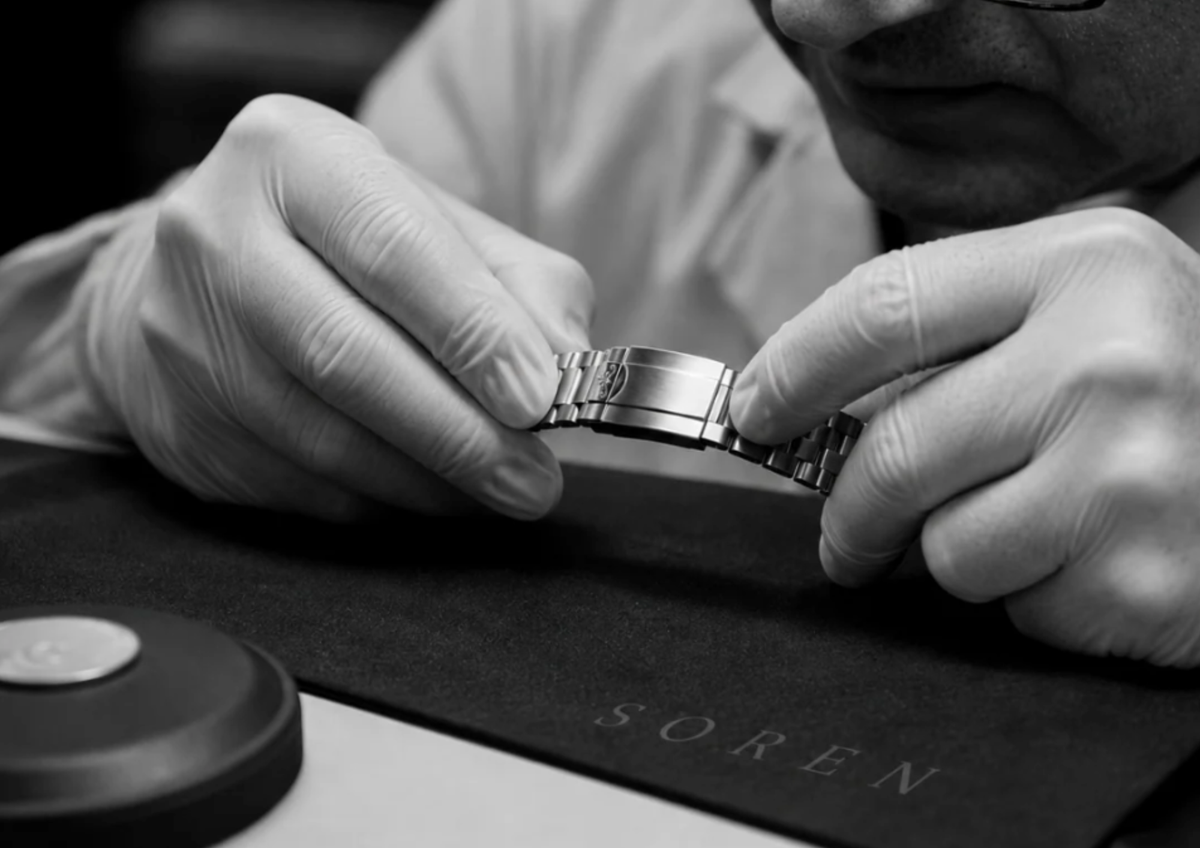
A watch that does not fit properly is a watch you will not wear. Too loose and it slides around the wrist and reads as unbalanced. Too tight and it becomes uncomfortable within an hour. Getting the fit right is the difference between a watch you enjoy and one that sits in a drawer.
The good news is that adjusting a steel bracelet at home is genuinely achievable with a few euros of tools and a careful hand. This guide walks you through it step by step, for both the three-link bracelet (commonly called an 3-link) and the five-link bracelet (commonly called a 5-link), and covers the common mistakes so you avoid them. It also tells you honestly when to stop and see a watchmaker instead.
What You Need
You do not need a professional workshop. You need a small, inexpensive kit and a clean, well-lit surface.
The essential tools are a spring bar tool or a dedicated link removal tool, a small push pin or a bracelet holder, a soft cloth to protect the watch, and a small container to hold the tiny parts you remove. A bracelet holder, which cradles the bracelet and gives you a stable surface to push the pins out, is inexpensive and makes the job far easier. Many watches, including both Soren models, come with a basic link removal tool, but a proper kit costs only a few euros and is worth having.
Work over a tray or a cloth, not over a table edge or a sink. The pins and pin collars you remove are very small, and losing one on a hard floor is the most common way this job goes wrong. A contained work surface prevents it.
How to Measure the Right Fit
Before removing anything, work out how much you actually need to take off. This is the step most people skip, and it is the one that prevents mistakes.
Put the watch on and fasten the clasp. A correctly fitted bracelet allows the watch to move slightly on your wrist but not slide up and down your forearm. You should be able to fit a finger between the bracelet and your wrist with a little resistance. The watch head should sit on the top of your wrist and stay roughly there when you move your arm.
Wrists swell during the day and in heat, so size for the middle of that range, not first thing in the morning when your wrist is at its smallest. If you are between fits, err slightly looser rather than tighter. A bracelet you can nudge is comfortable; one that leaves a mark is not.
Count how many links you need to remove, and try to remove an equal number from each side of the clasp. This keeps the clasp centred on the underside of your wrist, which is both more comfortable and more balanced. If you need to remove an odd number, take the extra link from the side of the clasp with more links.
Three-Link (3-link) Bracelet: How to Remove Links
The three-link bracelet, commonly known as an 3-link, has a wide centre link flanked by two narrower outer links. It is the more straightforward of the two to adjust because it has fewer, larger components.
Start by identifying the removable links. Look at the underside of the bracelet. You will see small arrows stamped on the links, indicating the direction to push the pins out. The pins must be pushed against the direction of the arrow, or in the direction the arrow points, depending on the design; the arrow shows the exit direction, so push from the opposite side.
Place the bracelet in the holder with the arrow facing up. Position your spring bar tool or pin pusher on the pin and apply firm, steady pressure to push the pin partway out. Do not force it sideways. Once it starts to move, you can often grip it with pliers or fingers and pull it the rest of the way.
Some three-link bracelets use friction pins, a single pin that pushes straight out. Others use a pin and collar system, where a tiny sleeve sits inside the link alongside the pin. If your bracelet has collars, keep track of them carefully, as they are even smaller than the pins and easy to lose.
Remove the required number of links, then reconnect the bracelet by pushing the pin back through, in the opposite direction to how it came out. Press it firmly until it is flush with the link surface. Give the bracelet a gentle tug to confirm the link is secure before wearing it.
Five-Link (5-link) Bracelet: How to Remove Links
The five-link bracelet, commonly known as a 5-link, has three narrower centre links flanked by two outer links. It follows the same principle but demands more care because the links and pins are smaller and more numerous.
The process is the same in structure. Identify the removable links using the arrows on the underside, place the bracelet in the holder with the arrow oriented correctly, and push the pin out with steady pressure.
The difference is in the details. Because the five-link design uses smaller components, the pins are thinner and the tolerances are tighter. Work slowly and keep the bracelet firmly supported in the holder so it does not shift as you push. The smaller pins bend more easily than the thicker pins of a three-link bracelet if you apply force at an angle, so keep your tool perfectly perpendicular.
Five-link bracelets are also more likely to use the pin and collar system, with a tiny collar inside each link. When the pin comes out, the collar may come with it or stay in the link. Either way, keep every collar, because you need it to reassemble the bracelet securely. Lay the parts out in order in your tray as you remove them.
Reassembly is the reverse: line up the links, insert the collar if your bracelet uses one, and push the pin back through against the arrow direction until flush. Confirm it is secure with a gentle tug.
Common Mistakes
Most bracelet-sizing problems come from a small number of avoidable errors. Here are the ones to watch for.
Pushing the pin the wrong way. The arrows on the underside show the exit direction. Pushing against a pin that is designed to exit the other way will not work and risks bending it. Always check the arrows first.
Losing the collars. On pin-and-collar bracelets, the tiny sleeves are essential and easy to lose. Work over a tray, and account for every collar as you go.
Removing links unevenly. Taking all the links from one side of the clasp shifts the clasp off-centre, which is less comfortable and looks unbalanced. Remove equally from both sides where possible.
Forcing a bent pin back in. If a pin bends during removal, do not force it back. Replace it with a spare. Forcing a bent pin can damage the link.
Sizing too tight. Wrists swell through the day. A bracelet that fits perfectly at 8am can feel tight by afternoon. Size for comfort across the whole day, erring slightly loose.
Scratching the bracelet. Using the wrong tool, or slipping, scratches the steel. Use the correct pin pusher, keep it perpendicular, and protect the watch with a cloth. On solid 316L steel, minor scratches can be polished out, but prevention is easier.
When to See a Watchmaker Instead
Doing this at home is satisfying and saves money, but it is not always the right call. See a watchmaker or jeweller instead if any of the following apply.
You are not confident with small mechanical parts, and the idea of handling tiny pins and collars makes you uneasy. There is no shame in this; a watchmaker will size a bracelet in a few minutes for a small fee.
The bracelet uses screws rather than pins. Some bracelets are held together with tiny screws instead of friction pins, which require the correct screwdriver and can be prone to stripping or loosening if not handled correctly. If your bracelet has screws and you do not have the exact driver, take it in.
You need micro-adjustment beyond what link removal offers. If removing one link is too much and leaving it is too little, the fine adjustment is usually in the clasp, and a watchmaker can help you find the best setting.
The watch is valuable or you simply do not want to risk it. If the peace of mind is worth more to you than the small fee, take it in. A professional sizing is inexpensive and removes all risk.
For most people with a standard pin-based three-link or five-link bracelet, home sizing is entirely achievable. But knowing when to hand it over is part of doing it well.
FAQ
What tools do I need to resize my bracelet?
At minimum, a spring bar or link removal tool to push out the pins, and a stable surface to work on. A dedicated bracelet holder makes the job much easier and costs only a few euros. A soft cloth to protect the watch and a tray to catch the small parts complete the kit. Many watches come with a basic removal tool included, but a proper kit is an inexpensive and worthwhile purchase.
How tight should a watch bracelet be?
A well-fitted bracelet lets the watch move slightly on your wrist but not slide up and down your forearm. You should be able to slip a finger between the bracelet and your wrist with a little resistance. Because wrists swell during the day and in heat, size for the middle of that range rather than when your wrist is at its smallest. If in doubt, err slightly loose; a bracelet you can nudge is comfortable, one that marks your skin is too tight.
Can I resize a five-link (5-link) bracelet at home?
Yes, using the same process as a three-link (3-link) bracelet: identify the removable links by the arrows, push out the pins with a proper tool, and remove links evenly from both sides of the clasp. The main difference is that a five-link bracelet has smaller pins and often uses tiny collars, so it demands more care and a steady hand. Work slowly over a tray so you do not lose any collars, and keep your tool perpendicular to avoid bending the thinner pins.
Why does my bracelet have arrows on the underside?
The arrows indicate the direction to push the pins out. Pins are designed to exit one way only, so pushing in the wrong direction will not work and can bend the pin. Always check the arrows before applying pressure, and push the pin back in against the arrow direction when reassembling.
What are the tiny collars inside the links?
Some bracelets use a pin-and-collar system, where a small sleeve sits inside the link alongside the pin. The collar helps hold the pin securely. When you push a pin out, the collar may come with it or stay in the link. Either way, keep every collar, because you need it to reassemble the bracelet properly. This is why working over a tray matters.
Will resizing my bracelet void the warranty?
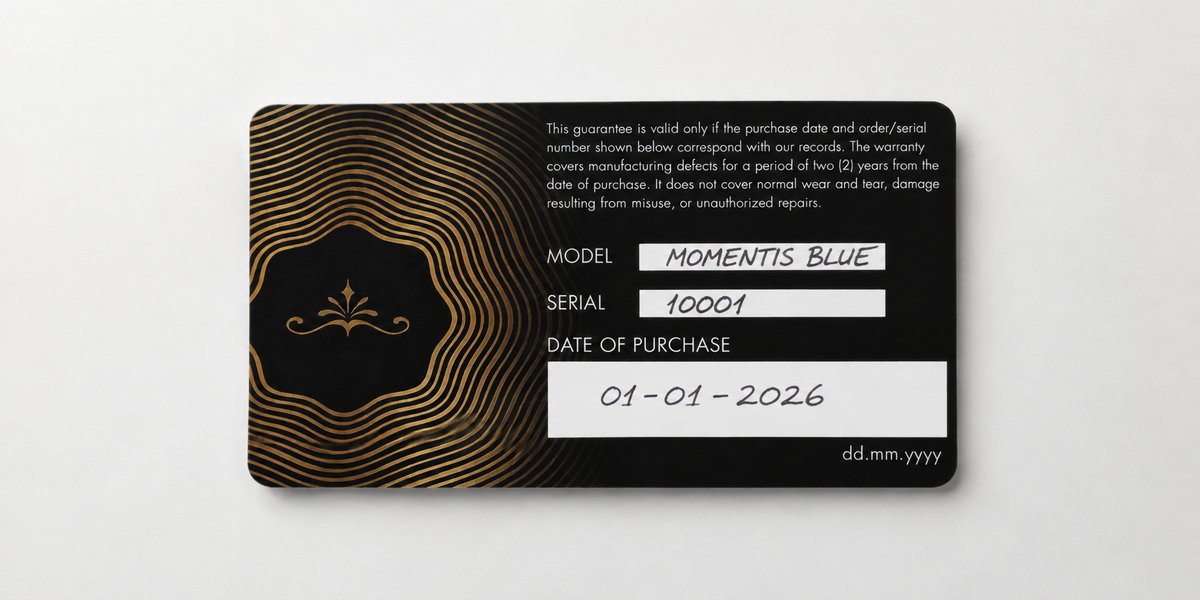
Resizing a bracelet yourself does not typically affect the watch's movement warranty, as it does not involve opening the watch. However, if you damage the bracelet during resizing, that damage is not covered. If you are unsure, a watchmaker sizing is inexpensive and removes the risk. Soren's warranty covers manufacturing defects; damage from a resizing attempt is separate.
The Bottom Line
Sizing a steel bracelet at home is a genuinely achievable job with a few euros of tools, a careful hand, and a contained work surface. Measure the fit first, remove links evenly from both sides of the clasp, mind the arrows and the collars, and confirm every pin is secure before wearing the watch.
The three-link bracelet is the more forgiving of the two thanks to its larger components. The five-link bracelet follows the same process but demands more care with its smaller pins and collars. In both cases, patience and a tray to catch the small parts are what make the difference.
And if the tiny parts are not for you, there is no downside to handing it to a watchmaker. A professional sizing costs little and takes minutes. The goal is simply a watch that fits well enough that you reach for it every day.
If you are still deciding between the two bracelet styles, the three-link versus five-link comparison covers how each wears, and the full strap guide covers every option including rubber and leather.
Free EU shipping. 2-year warranty. 30-day returns. Swiss Made. sorenwatches.com



Leave a comment
This site is protected by hCaptcha and the hCaptcha Privacy Policy and Terms of Service apply.